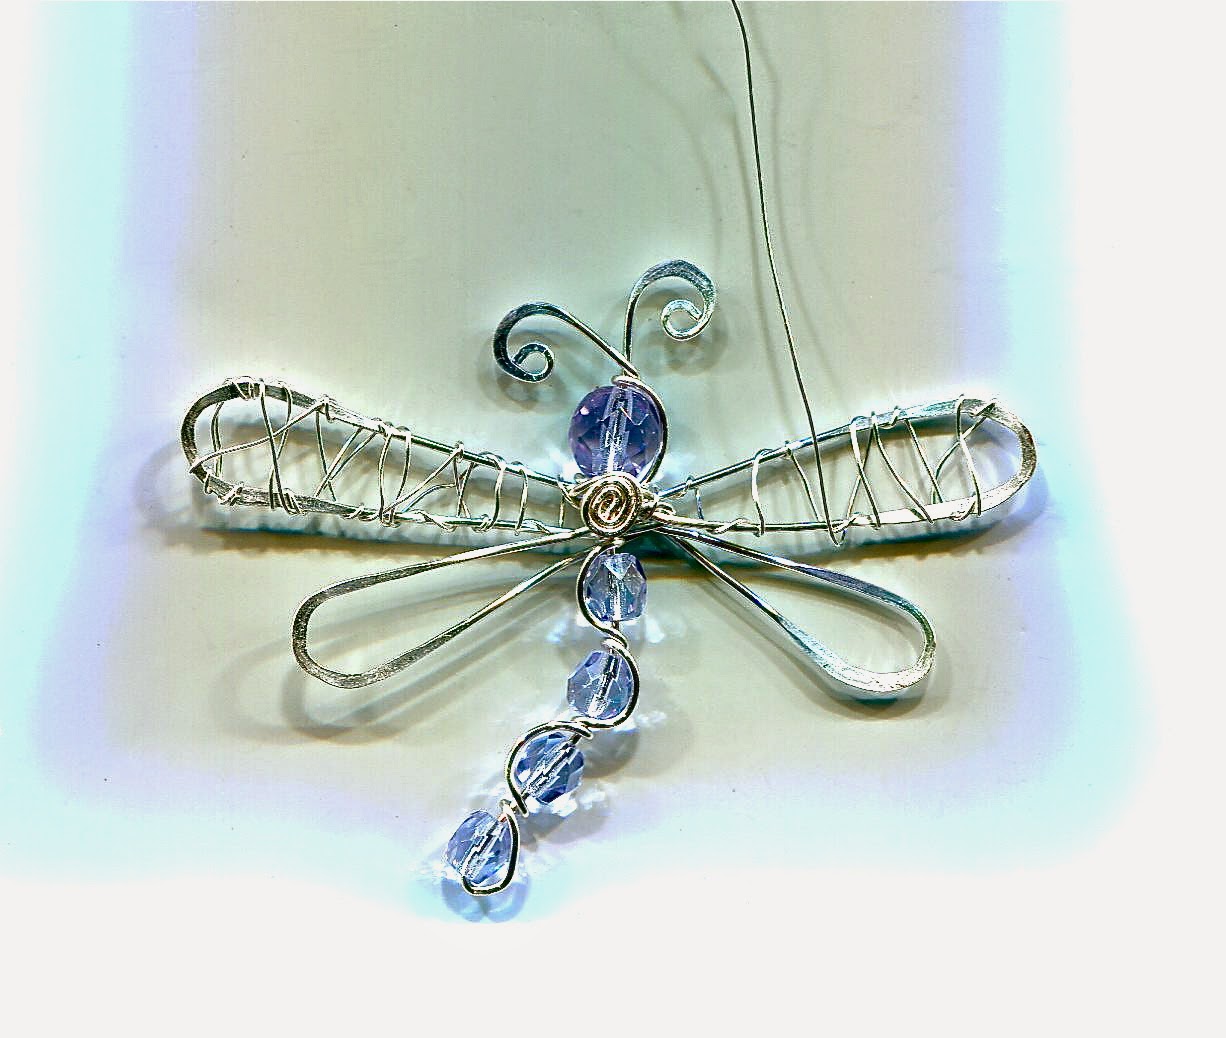
Wire Wrap Dragonfly Pendant Tutorial
http://sheis12.blogspot.com.au/2013/01/wire-wrap-dragonfly-pendant-tutorial.html

As promised here is the latest tutorial for this lovely dragonfly pendant. So lets gather our tools and get started.

For this project I used:
- bent nose pliers
- wire snips
- round nose pliers
- 8 inches of 18 gauge artistic wire
- 20 inch length , and a 12 inch length of 24 gauge wire
- chain
- matching clasps and jump rings
- complimentary brass finding or flower accent
- 6 glass pearl beads in graduating sizes
NOTE:
This is just an example, not written in stone! I love happy accidents ,
and encourage you to experiment with your own colors and variations :)

Here's
the note card sketch I did when I made the first one. I generally make a
quick sketch afterwards to remind me of how I did a new design. If it
serves as a reference for you, great!

Starting with the 8 inch thicker wire, and using my bent nose pliers I bent a gentle 'v' shape at the 4 inch mark.


Then
proceeded to gently fold the wire over my ring mandrel at that 1 inch
mark, make the bend on both sides. you should wind up with a basic heart
shape. ( you can also use a pen, dowel, knitting needle, etc to form
what ever size curve you wish.)

Bring
the tails up until they lie flat and parallel to the tops of the wings.
hold the tails in place at the 'v' point with your pliers and use your
fingers to bend the tails down at a gentle angle. The tails are criss
cross here. Looks like a bow now.


At this point I measured and snipped both tails to equal lengths (1.25 inch) to start forming the bottom wings.

Using
the round pliers hold the tip of tail up towards the top points of the
pliers. ( I generally roll away from myself) roll the pliers until the
wire forms the small loop, continue to to roll the loop until you have a
small half spiral. Looking at the picture the small loop will curve up
towards the bottom of the top wings.


There the frame is formed, and we have 2 top wings and 2 bottom wings.

Now
it's time to add the lacy look to the wings. Using the longer 24 gauge
wire we are going to find the half point on the fine wire, and lie that
center point over the top center of the wings, and fold the fine wire to
the back of wings.

Take
the top fine wire and wrap one coil around the 'v' point going to the
left, and take the bottom fine wire and wrap one coil around the bottom
right of the top wing.

Just
working on the right wing for now we are going to do that over under
thing. Since the wrapping wire is at the back....up through the center
over the front of the top, around and up through the center, and over
the front of the bottom....continue alternating top and bottom until you
reach the curved tip of the wing.

Around the curve of the wing we are just going to tightly coil the wrapping wire around and around until the curve is filled.

Once filled with the coiling make sure the wrapping wire is to the back of the piece, and snip it close to the wing frame wire.


See
the tiny snipped end. Use your flat pliers to crimp that end towards
the inside of the wire frame. I always run the piece against my cheek
(The cheek test) to make sure I can't feel any snags!

From here continue on the opposite side and complete the left wing in the same pattern.

Okay, let's bead this bad boy :) I was out of brass flowers so I flattened a bead cap to create one.


Next
using the 12 inch piece of 24 gauge wire we are going to put the
(large) head bead at about the 4 inch mark. bend the wire around the
bead and pinch together under the bead.

The tails of the wire should be one long, one short. Add the flower and pull it up close to the head bead.


open
the tails slightly (like a bobby pin) and slide onto the center wrap on
the frame. One tail on each side of that center wire. Pull the head
bead and flower up close and snug to the frame.
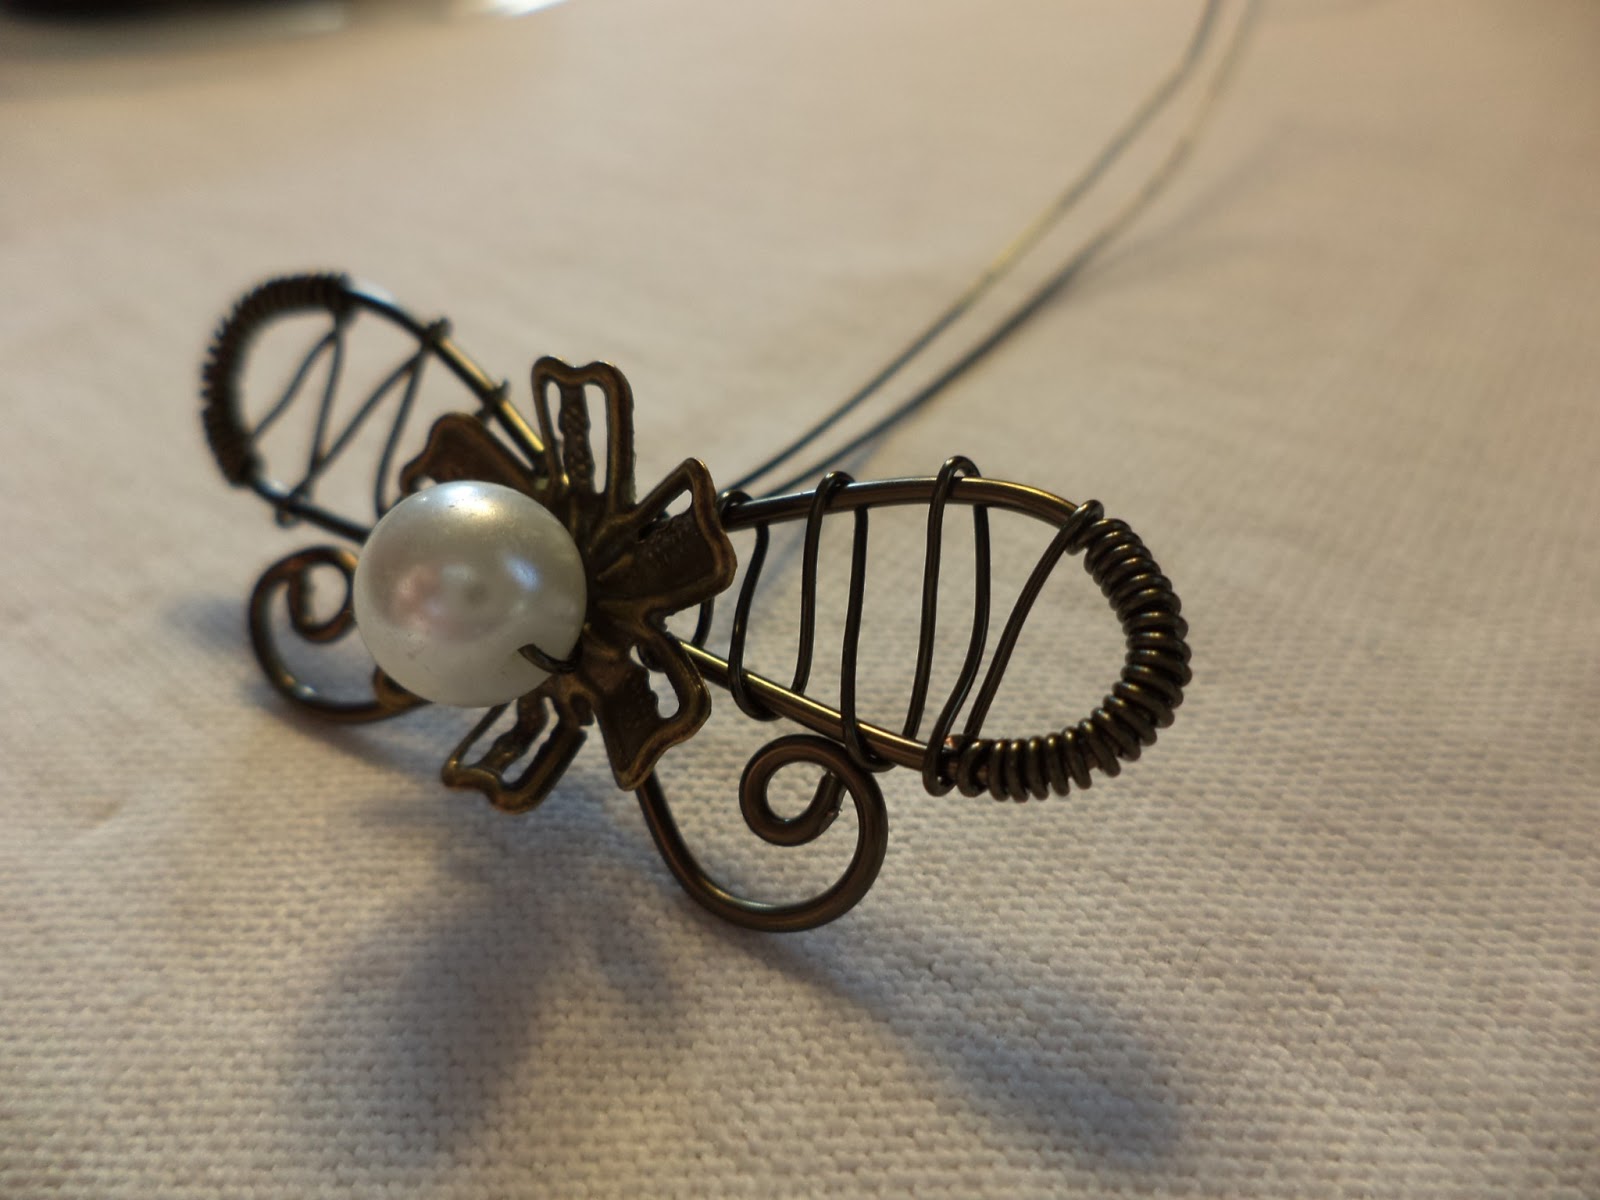
In
back separate the tails and bend the longer one up to the top of the
frame, and the short one down to the bottom of the frame.

Take
the top wire and bring it to the center front between the top flower
petals , and wrap it one and a half times around the base of the bead.
So now the long wire is in front and pointed down

Gently
nudge the bead upwards towards the top of the petals. String the next
large bead on the short wire and push up to first bead. Cross the long
wire over the top of the short wire between the two beads, and coil the
long wire around the short wire once. the long wire is now pointed
sideways between the two beads.


Holding
the long wire on the right side of the second bead, wrap it around the
short wire with one coil at the bottom of the second bead. String the
next size bead on and repeat process between each bead down the short
wire


Now
that each of the beads have been strung and wrapped all the way down,
your piece should look like the picture above. Now we are going to
continue with the long wire and wrap and coil in the same fashion going
up the opposite side.To 'tie off' the long wire I ended between the
first and second beads and put the long (not as long now) wire through
to the back of the piece and wrapped 3 coils on the heavy wing frame
wire. Snipped and crimped to the inside like previously instructed.

At this point I gently nudged any slack out of the bead wrapping, by pushing the beads upwards along the short wire.

To finish the short tail I trimmed the wire to 1 inch and used the round nose pliers to make a tight flat spiral.


To
finish I chose to use double clasps to attach to the wings. My daughter
likes to trade out her pendants, and this is an easy way to do that.
Well
I truly hope you find this helpful or inspirational! If I missed
anything or if you have a question please leave a comment :)
Creative Blessings! T